Legodac
Failed
X Banned Members
Inventor

MLNO Reputation -10
 Offline Offline
Gender: 
Awards:   
Team: No Team
Purpose: Well, to bring you Lego news  my own Lego Store, then perhaps being the 9th Lego Pro, then if there is enough money, I may bring Stanley Home my own Lego Store, then perhaps being the 9th Lego Pro, then if there is enough money, I may bring Stanley Home
Posts: 3652
AND ONE BOWL OF VEGGIE BEEF SOUP, TO FEED THEM ALL
 Badges: (View All)  
|
 |
« on: July 19, 2009, 09:20:34 am » |
|
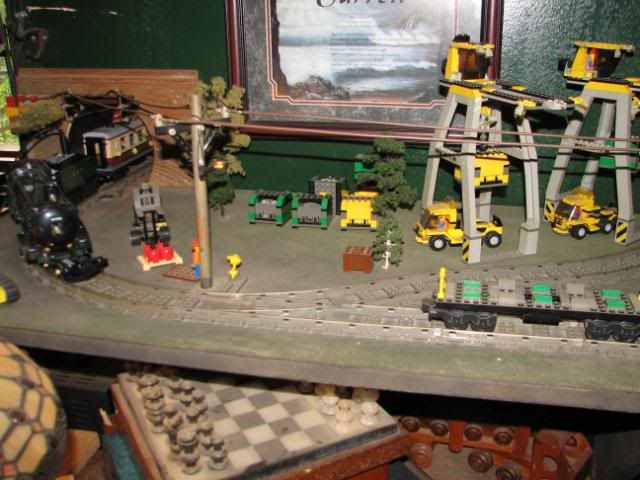
OK, let's finish the layout pictures. We started in the living whaere you see the three houses, the green one btw is the design of JediMaster_Syfodias. A larger shelf area is required to allow the train to loop around and go the other way, thus allowing for continous operation.
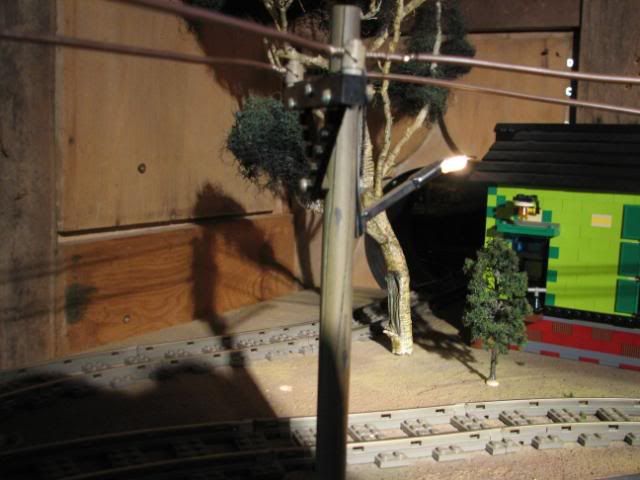
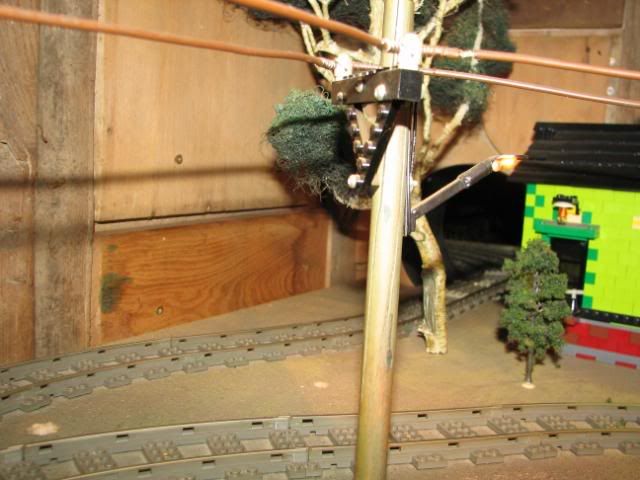
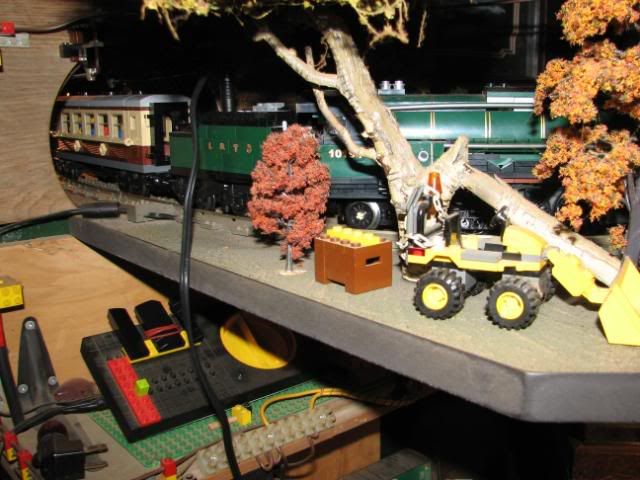
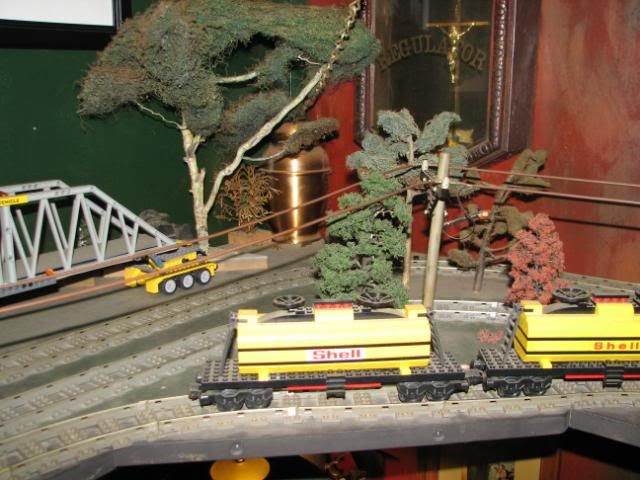
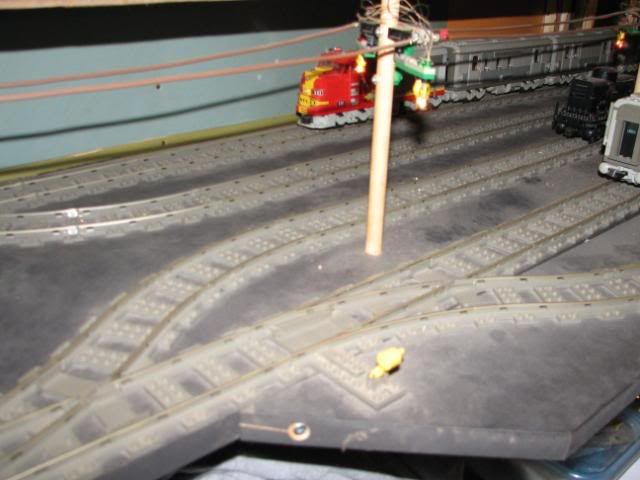
As we came from the loop and along the wall towards the first corner we came to the switch tower. My LDD design of a Train car hoisted onto a wall to lookout over a train yard.
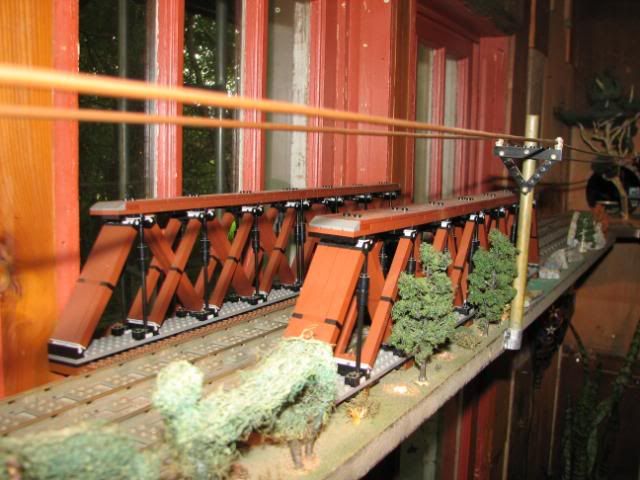
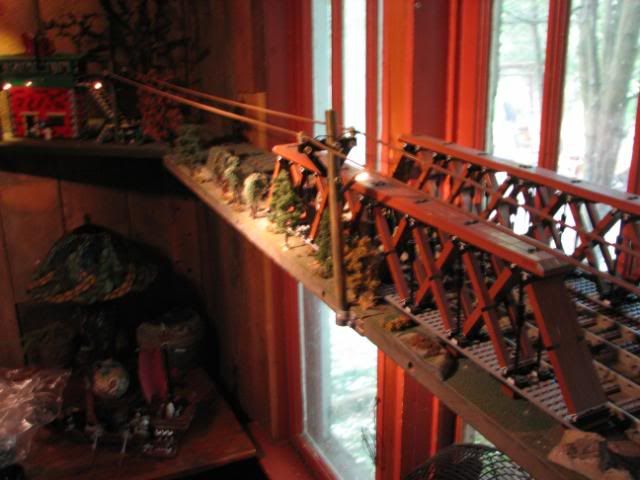
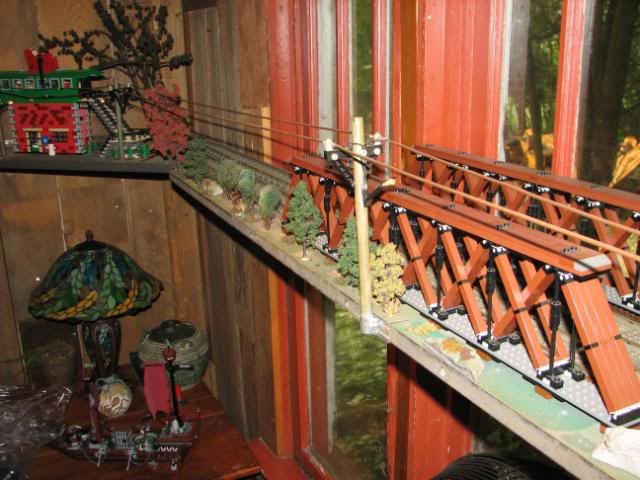
The following few pics are the next wall where you see my LDD design of an old style Pony Truss.

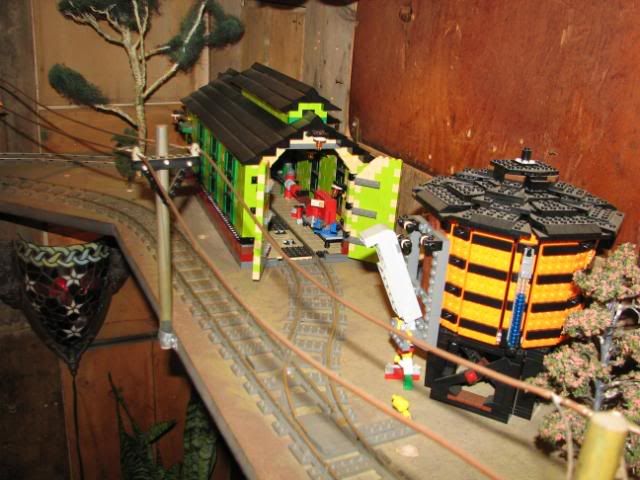
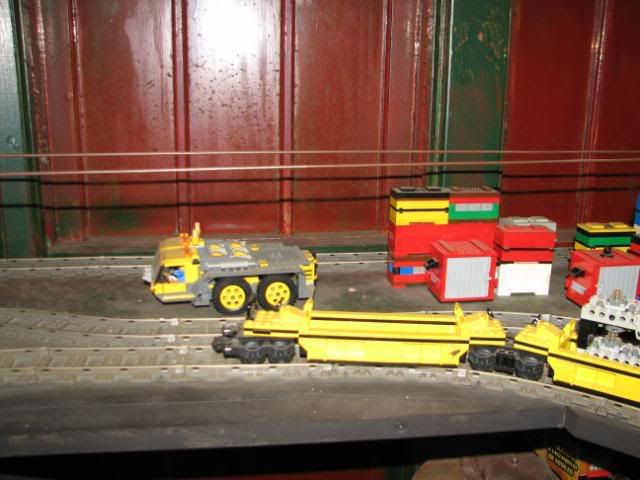
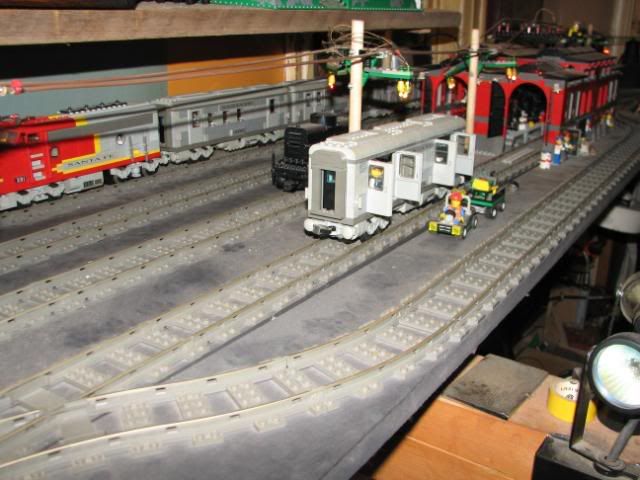
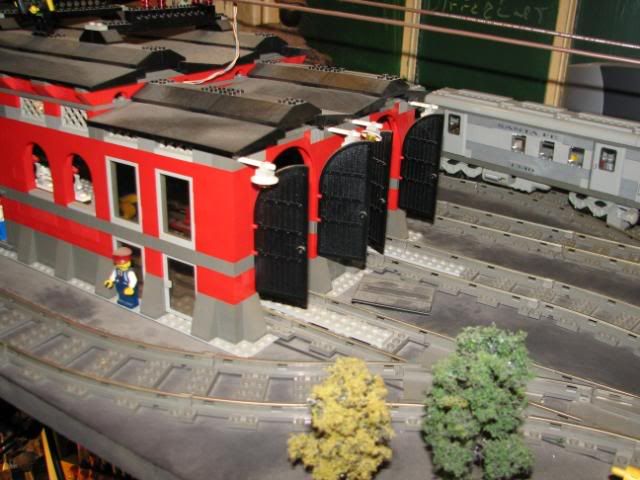
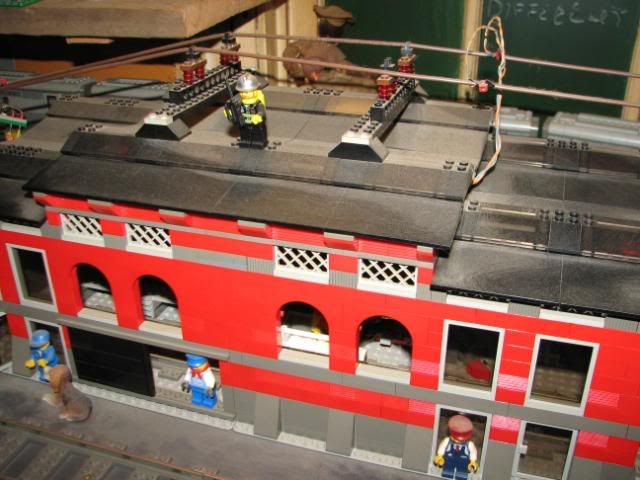
 We've passed the Pony Truss and now we're approaching what I've called Train Yard 2. This is the wall with the two tunnels entering and exiting my bedroom. You can clearly see my train shed and water tower. The red brick tunnel at the edge if the door is where power to feed the tracks, charge the Emerald night and power the lights are all controlled on the bedroom side of the wall. We've passed the Pony Truss and now we're approaching what I've called Train Yard 2. This is the wall with the two tunnels entering and exiting my bedroom. You can clearly see my train shed and water tower. The red brick tunnel at the edge if the door is where power to feed the tracks, charge the Emerald night and power the lights are all controlled on the bedroom side of the wall.
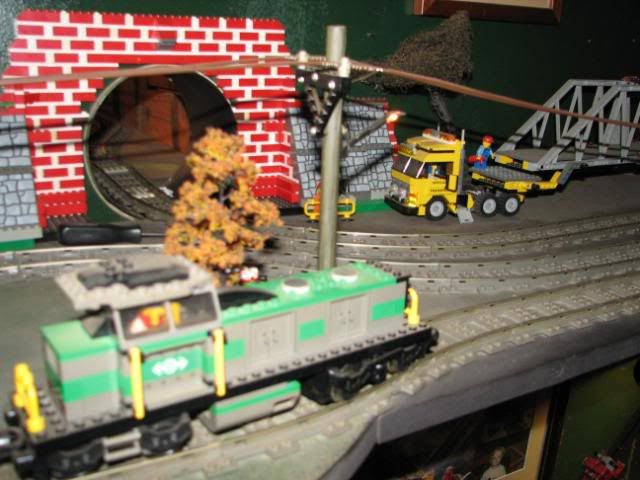
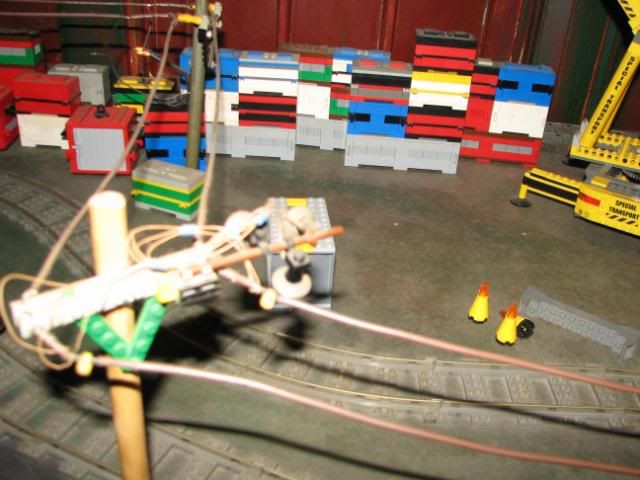
The tunnell that exits the bedroom you see just at the back of the train shed.

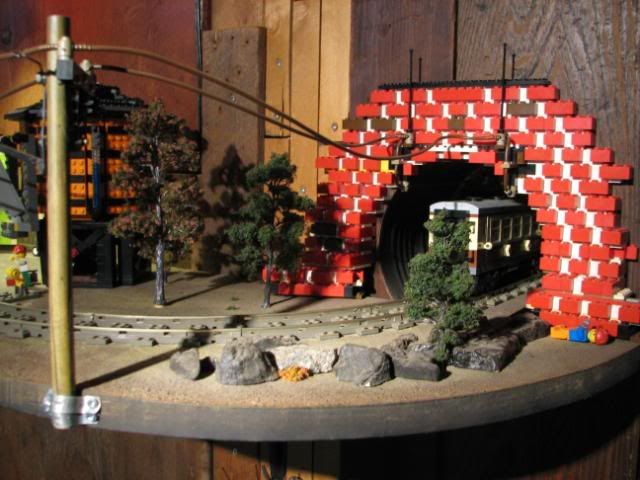
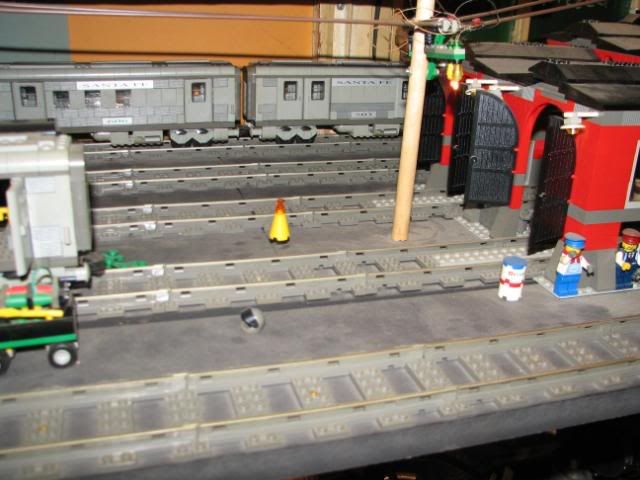
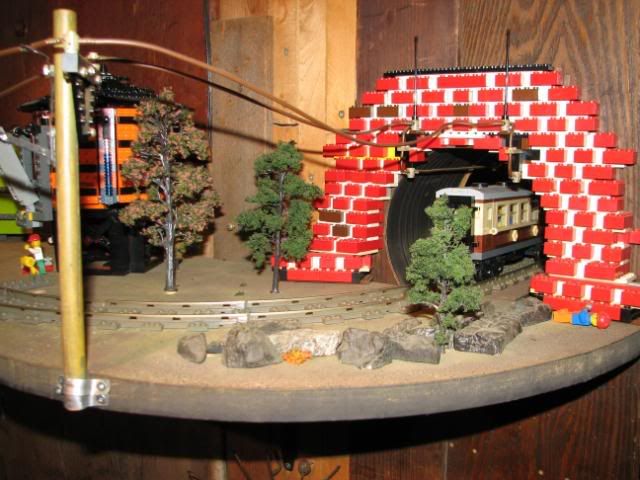 The picture above, you can see the passenger car of the EN inside the tunnell. The pictures below are now viewing the bedroom side of the layout. The rest of the pics simply go in order around the bedroom towards the closet where the train loops once more to the other way. The picture above, you can see the passenger car of the EN inside the tunnell. The pictures below are now viewing the bedroom side of the layout. The rest of the pics simply go in order around the bedroom towards the closet where the train loops once more to the other way.
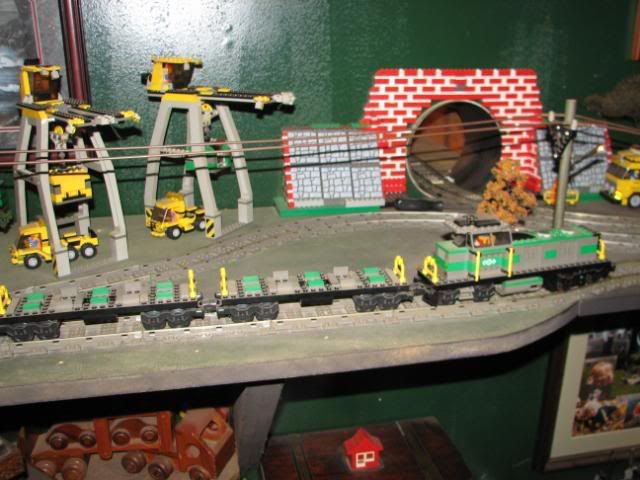
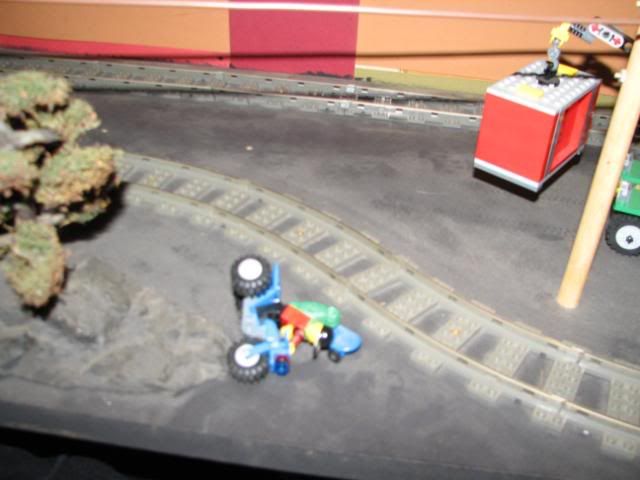
 To finish up the layout and moving around the room we come to LEGO's train shed which I bought two of and put them together. You can see at the point of the red train shed that the tracks run 5 wide, 3 in one direction and 2 in the other. A small note on layout, when I built all this the tollerances and distance between tracks and distance between tracks and wall were very tight. I had to do two things when I bought the Emerald Night. One, was to remove the wide pieces at the top front of the engine and I also had to relocate all my hydro poles in the living room area. To finish up the layout and moving around the room we come to LEGO's train shed which I bought two of and put them together. You can see at the point of the red train shed that the tracks run 5 wide, 3 in one direction and 2 in the other. A small note on layout, when I built all this the tollerances and distance between tracks and distance between tracks and wall were very tight. I had to do two things when I bought the Emerald Night. One, was to remove the wide pieces at the top front of the engine and I also had to relocate all my hydro poles in the living room area.
Where as they used to be positioned between tracks, they are now mounted on the inside edge of the shelf.


|
|
|
|
« Last Edit: July 19, 2009, 10:18:02 am by legodac »
|
Report Spam
 Logged
|
|
|
|
|
